The video explains the process of using comparison tables and slider WHMpress Addon. WHMpress is a plugin that provides easy solution for WHMCS WordPress Integration. To be able to use this WHMpress Addon, first you need to have WHMpress 2.6 or later installed and synced on your WP site and then have the plugin named “Comparison Tables and Sliders – WHMpress Addon” installed.
Using Sliders & Comparison Table WHMpress Addon
Following are the steps for using comparison tables and slider WHMpress Addon:
-
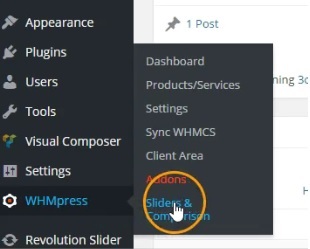
- Hover your mouse on WHMpress plugin in your WP site and click on Slider & Comparison Tables Addon
-
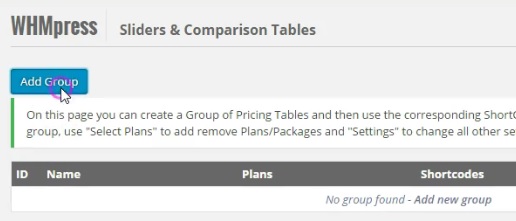
- Next we add a group in the Slider & Comparison Tables Addon by clicking on Add Groups
-
- Enter the group name and group notes and click on Save Group. Your groups is added successfully.

-
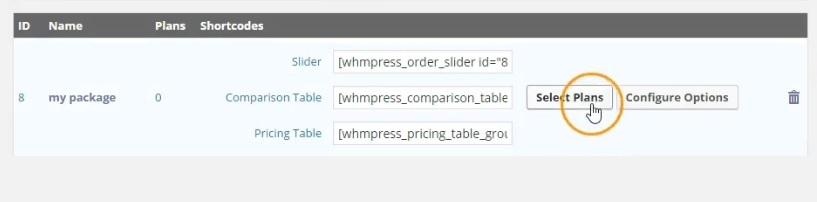
- We do not have any plans selected for the group as yet.

-
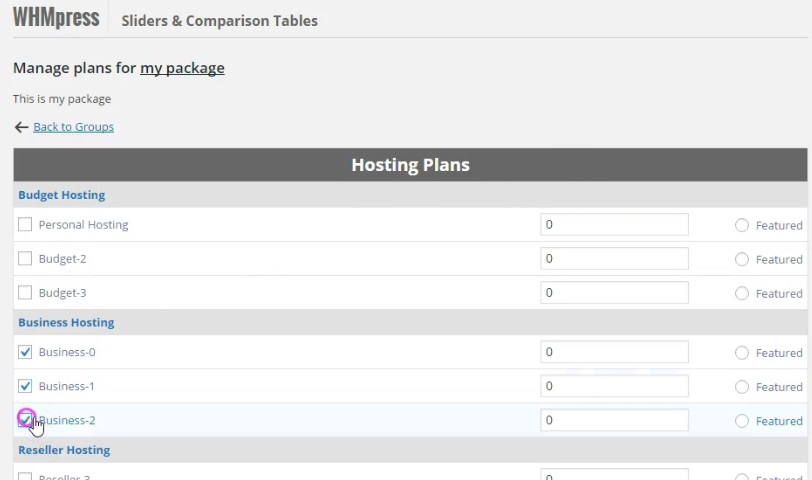
- Lets select plans for our group by clicking on Select Plans. Select the appropriate plans and click on Save Plans in Group.
-
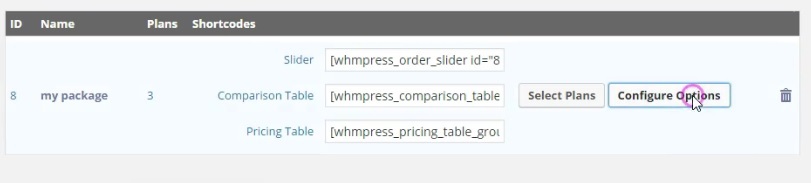
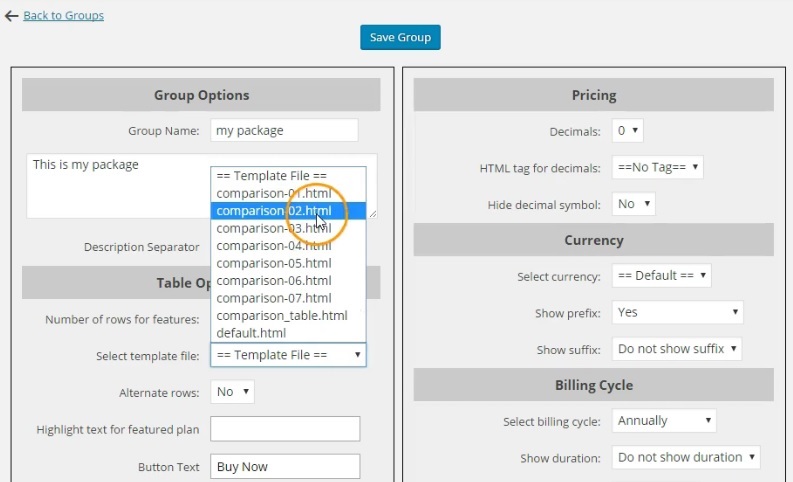
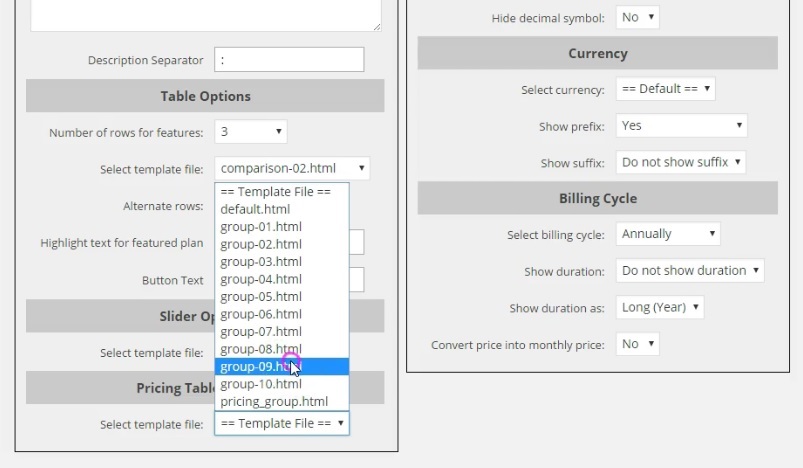
- We manage settings of the group by clicking on Configure Options. Lets select template for comparison table in the Table Options section and click on Save Group.
-
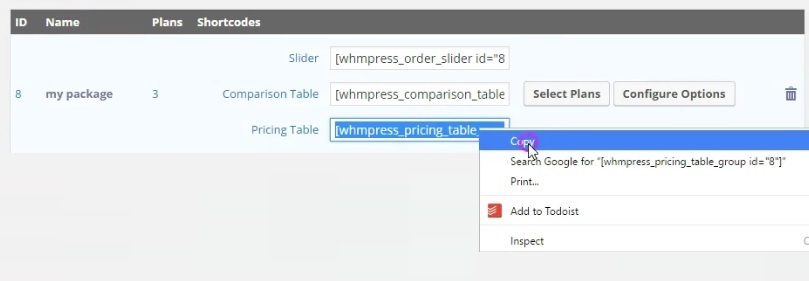
- Next we Copy Shortcode of comparison table for using them on any page to show comparison table.

-
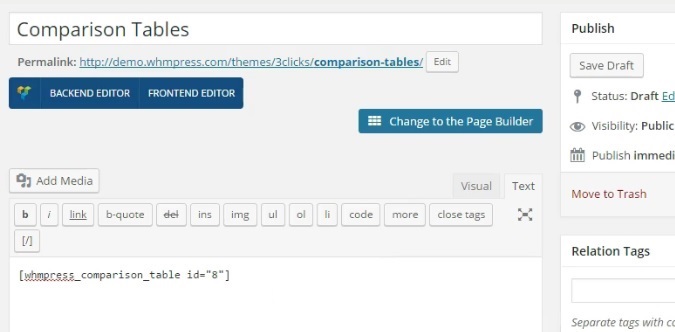
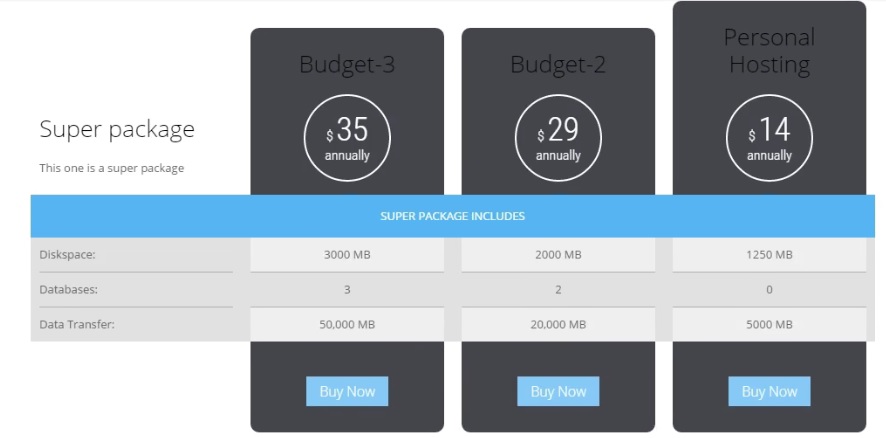
- Hover over the Pages tab and click on Add New to add a page and name it as Comparison Tables. Now paste that shortcode in content of this page. Click on Publish to publish the page and click on View page to view the Comparison Tables page. The comparison table is displayed according to the template selected.
-
- Now lets configure options of our group for selecting template for slider. We select template for our slider from Slider Options section and after selecting it, click on Save Group.

-
- Now Copy Shortcode of slider for using them on any page to show slider.

-
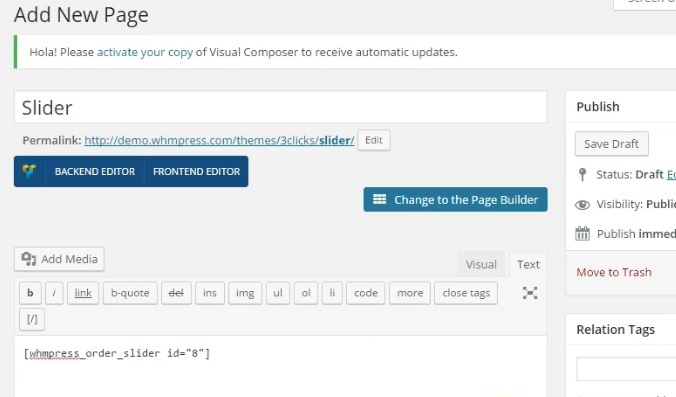
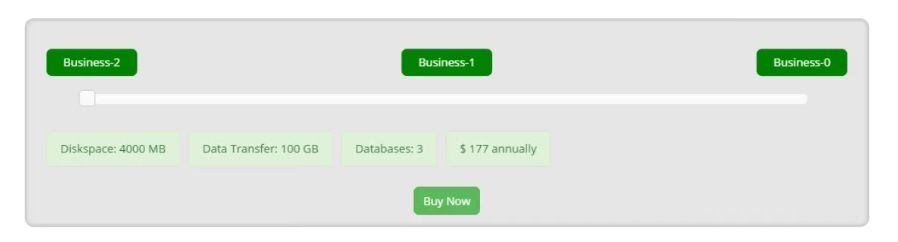
- Add a new page and name it as Sliders and paste the shortcode in page content and publish the page by clicking on Publish. Click on View Page to view the page containing the sliders.
-
- Now we select template for pricing table. Click on Configure options again and inside it click on Pricing Table Options to select template and click on Save Group.
-
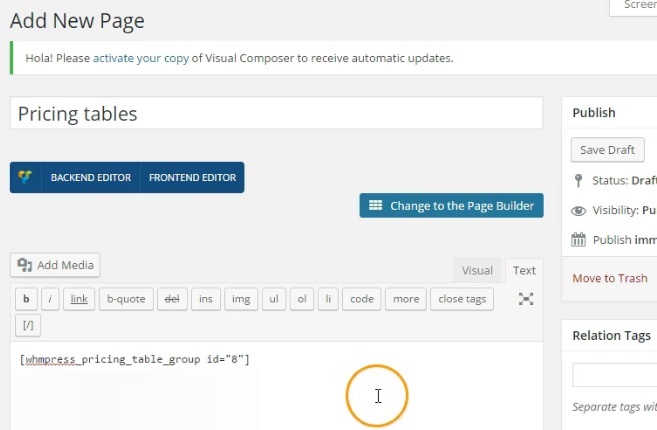
- Copy Shortcode of pricing table for using it on any page to show pricing table.
-
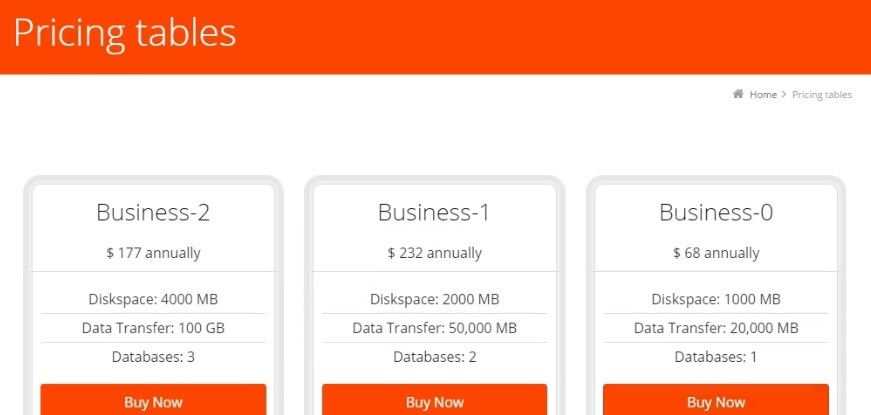
- Add a new page and name it as Pricing Table and paste the shortcode in the page content and publish the page by clicking on Publish. Click on View page to view the page containing pricing table.
-
- In this way you can easily use comparison tables, sliders and pricing tables on any page according to your requirement.